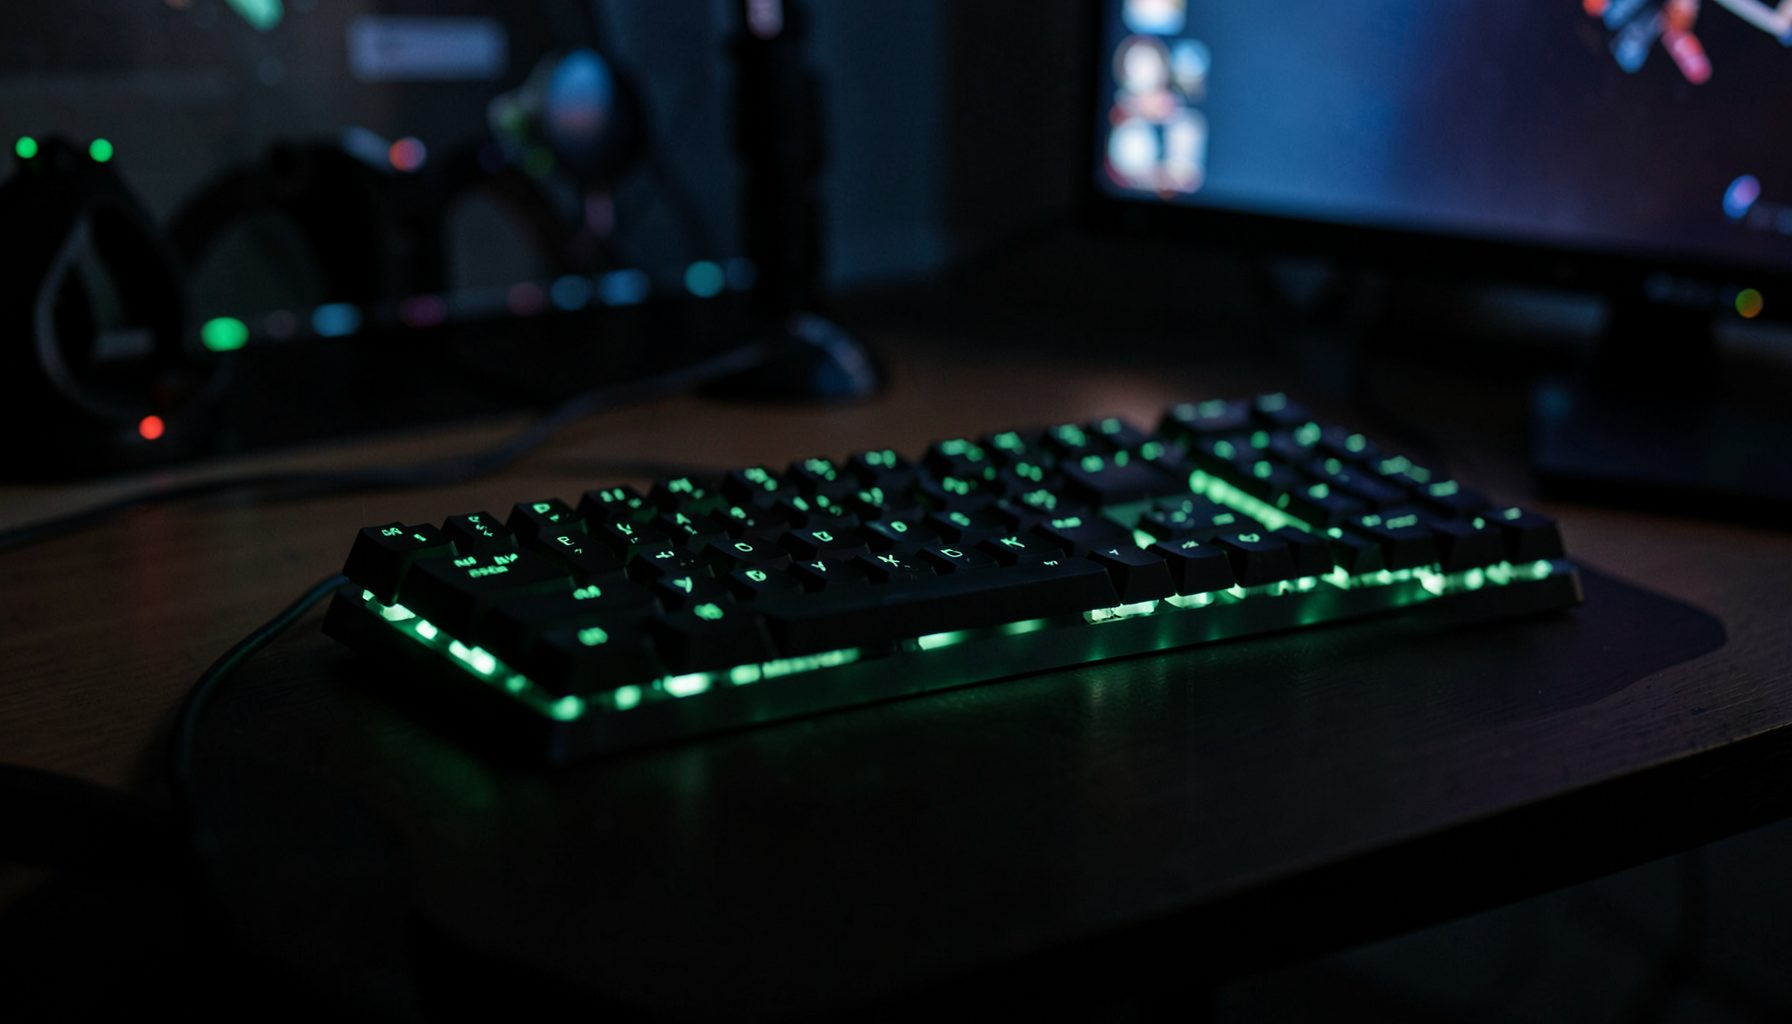
How to Clean and Maintain Your Mechanical Keyboard
How to Clean and Maintain Your Mechanical Keyboard: Switches, Keycaps, and Stabilizers Explained is a practical guide to keeping a favorite board responsive, quiet, and comfortable. Mechanical keyboards are built to last, but dust, skin oils, food particles, and moisture gradually affect key feel and reliability.
A good cleaning routine does not require specialist equipment. The essential tools are a keycap puller, a soft brush, lint-free cloths, compressed air, mild dish soap, and a safe work surface. Deeper maintenance may involve switch removal, stabilizer servicing, and lubricant, but those steps should be approached carefully.
The design of the keyboard determines how far you can go. A hot-swappable board allows individual switches to be removed without soldering, while a soldered PCB requires more restraint. Before starting, identify the keyboard’s construction, document keycap positions, and disconnect the USB cable or switch off the wireless connection.
Why Mechanical Keyboard Maintenance Matters
Dust tends to collect around switch housings and beneath keycaps because those areas are exposed to air and finger movement. Over time, debris can make a key feel scratchy, prevent a switch from returning smoothly, or cause intermittent input. A dirty board may also develop an unpleasant odor when particles and oils accumulate in the plate and foam.
Keyboards with exposed metal plates, RGB lighting, or open-frame cases need particular attention because contamination can be easier to see and may reach the PCB. Wireless models add another concern: remove the battery or disconnect the internal power source before using any liquid near the electronics.
Cleaning also preserves the original sound profile. Dust and residue can create rattling, muted bottom-outs, or uneven spacebar movement. Regular surface cleaning helps retain the crisp sound and consistent actuation that made you choose a mechanical board in the first place.
Prepare the Keyboard And Your Workspace
Begin by taking a clear photograph of the assembled keyboard. This is especially useful for boards with different keycap sizes, unusual layouts, split backspace keys, stepped Caps Lock keys, or multiple stabilizer styles. Remove the detachable cable and place the keyboard on a clean towel or desk mat where small parts cannot roll away.
A wire or plastic keycap puller is safer than using a screwdriver, knife, or fingernails. Pull upward with even pressure, keeping the tool centered so the keycap stem is not stressed. For longer keys, gently wiggle the cap from side to side rather than twisting it aggressively.
Keep these tools nearby:
- A wire keycap puller for standard keycaps
- A soft detailing brush or clean makeup brush
- Compressed air used with the can held upright
- Lint-free microfiber cloths and cotton swabs
- A small bowl, mild dish soap, and lukewarm water
- Plastic tweezers for removing stubborn debris
Avoid household glass cleaner, alcohol-heavy sprays, abrasive sponges, and soaking the keyboard case while the PCB is installed. Static-producing vacuum cleaners can also be risky around exposed electronics. If a vacuum is necessary, use low suction and keep the nozzle away from the circuit board.
Clean Keycaps And Switches Safely
Remove the keycaps in sections if you are concerned about losing their positions. Place them in a bowl of lukewarm water with a small amount of mild dish soap, then leave them to soak for around 20 to 30 minutes. Agitate them gently with your hand, rinse them thoroughly, and spread them on a towel with the stems facing upward.
Keycaps must be completely dry before reinstallation. Water trapped inside a keycap can later reach the switch or PCB, especially when the keycap is pressed repeatedly. Allow several hours of air drying, and avoid using high heat from a hair dryer because it may warp thin ABS plastic or affect printed legends.
While the caps soak, turn the keyboard upside down and tap its underside lightly over a towel. Use short bursts of compressed air to move loose particles out of the plate. Hold the can upright and keep the nozzle several centimeters away; tilting the can can release propellant residue or liquid that may damage finishes and electronics.
For visible grime around a switch, use a dry brush first. A barely damp cotton swab can clean the top of a switch housing, but it should never drip. Do not pour cleaner into the switch or attempt to flush it while it is mounted on the PCB. Many modern switches are sealed enough for normal dust protection, yet liquid contamination can still reach contacts and create inconsistent actuation.
| Keyboard area | Safe routine | Avoid |
|---|---|---|
| Keycaps | Soak in lukewarm soapy water, rinse, and dry fully | Hot water, bleach, abrasive scrubbing |
| Switch tops | Brush away dust and wipe around the housing | Pouring liquid into the switch |
| Plate | Use a soft brush, air, and a lightly damp cloth | Saturating exposed metal or foam |
| PCB | Use dry air and a clean brush | Sprays, dripping swabs, and aggressive suction |
| Case | Wipe with a slightly damp microfiber cloth | Reassembling before all surfaces dry |
The switch type affects how much maintenance is possible. Clicky switches contain an additional click jacket or mechanism that can be affected by thick lubricant and debris. Linear switches are usually easier to service, while tactile switches require care because excess lubricant can soften or erase their intended bump. Optical and magnetic switches have different internal designs, so consult the manufacturer’s service information before opening or lubricating them.
If a switch remains scratchy after external cleaning, it may have a damaged leaf, worn stem, or manufacturing defect rather than simple dirt. On a hot-swap keyboard, replacing the switch is usually more reliable than forcing cleaning fluid into it. A suitable replacement can restore the key quickly, while boards with soldered switches may require desoldering equipment and greater technical skill.
Service Stabilizers Without Creating New Problems
Stabilizers support wide keys such as the spacebar, Shift, Enter, Backspace, and sometimes the longer keys on compact layouts. Their wire, housings, and stems are responsible for much of the keyboard’s rattle. Because these components move more than ordinary key stems, they can collect dust and lose lubricant faster.
Start by removing the large keycap carefully. On plate-mounted or PCB-mounted stabilizers, the cap may be held by two stems and metal wires. Lift evenly from both sides and avoid pulling one end sharply, since that can unhook the wire or damage the stabilizer housing. If the key feels stuck, inspect the attachment points instead of increasing force.
For light maintenance, brush away dust and wipe the accessible surfaces with a dry cotton swab. If the stabilizer wire is visibly dry or noisy, a small amount of plastic-safe keyboard lubricant can help. Use a fine brush or syringe to apply a thin film to the contact points. Excess grease attracts dust, slows the return stroke, and may migrate onto the keycap or plate.
Stabilizer lubricant should be compatible with plastic and suitable for keyboard mechanisms. Thick grease can work on wire contact points, but it is often unsuitable inside delicate switch housings. Thin oils may spread too easily and can produce inconsistent movement. When a stabilizer is badly bent, cracked, or persistently noisy, replacement is preferable to adding more lubricant.
Reassemble And Test Every Key
Once the keyboard, keycaps, and stabilizers are dry, reinstall the stabilizer wires and large keycaps first. Press each side of a wide key separately to confirm that both ends move together. A key that tilts, binds, or fails to return usually has a wire that is not seated correctly.
Return the remaining keycaps according to the reference photograph. Press each one straight down until the stem is fully engaged. Avoid forcing a cap at an angle, especially on low-profile switches or fragile aftermarket keycaps. Check that the keycap does not rub against neighboring caps or the case.
Reconnect the keyboard and test every key using a keyboard tester or a text editor. Look for missed inputs, repeated keystrokes, inconsistent RGB behavior, and keys that feel slower than the rest. Test modifier combinations, the spacebar, arrow keys, and the number row because these areas often reveal a poorly seated stabilizer or switch.
If a key does not register, remove and reseat its switch if the board is hot-swappable. Inspect the switch pins for bending before reinstalling it. On a soldered board, do not press repeatedly or scrape the PCB; intermittent input may require solder inspection or professional repair. For PC builders maintaining an entire setup, keeping replacement switches, keycap tools, and other PC hardware supplies nearby can make small repairs less disruptive.
Build A Practical Maintenance Routine
A keyboard used every day benefits from quick surface care once a week or every two weeks. Remove loose debris with a brush, wipe the case and wrist rest, and clean the most frequently used keycaps. A deeper keycap wash every few months is usually enough for a clean personal board, although shared or heavily used keyboards may need more frequent attention.
Avoid eating directly over the keyboard, keep drinks on a separate surface, and wash or dry your hands before long gaming sessions. These habits reduce the oil and crumbs that create most cleaning problems. A desk mat also helps limit dust entering through the underside and case openings.
Use the following routine as a simple maintenance schedule:
- Daily or weekly: wipe the case, wrist rest, and frequently touched keys.
- Every few weeks: brush between keycaps and use short bursts of compressed air.
- Every two or three months: remove and wash keycaps, then dry them completely.
- When rattling appears: inspect stabilizers and apply only a small amount of suitable lubricant.
- After a spill: disconnect power immediately, remove keycaps, and let the board dry fully before testing.
Water damage requires a different response from ordinary dust. Disconnect the keyboard as soon as possible, remove the keycaps, and position the board so liquid can drain away from the PCB. Do not reconnect it to check whether it still works while moisture may remain inside. If the spill contained sugar, milk, or another sticky substance, professional disassembly and board cleaning may be necessary.
Maintenance is also a useful time to evaluate the board’s condition. Shine on ABS keycaps, loose USB ports, worn stabilizer housings, and degraded case feet may indicate that replacement parts are worthwhile. A keyboard does not need to remain untouched to retain its character; careful upgrades can improve reliability while preserving the switches and layout you enjoy.
A clean mechanical keyboard feels more consistent, sounds better, and is less likely to develop avoidable input problems. Work slowly, keep liquid away from the PCB, use minimal force, and treat lubrication as precision maintenance rather than a quick fix. Start with a dry brush and clean keycaps today, then inspect the switches and stabilizers only when the symptoms justify deeper service.