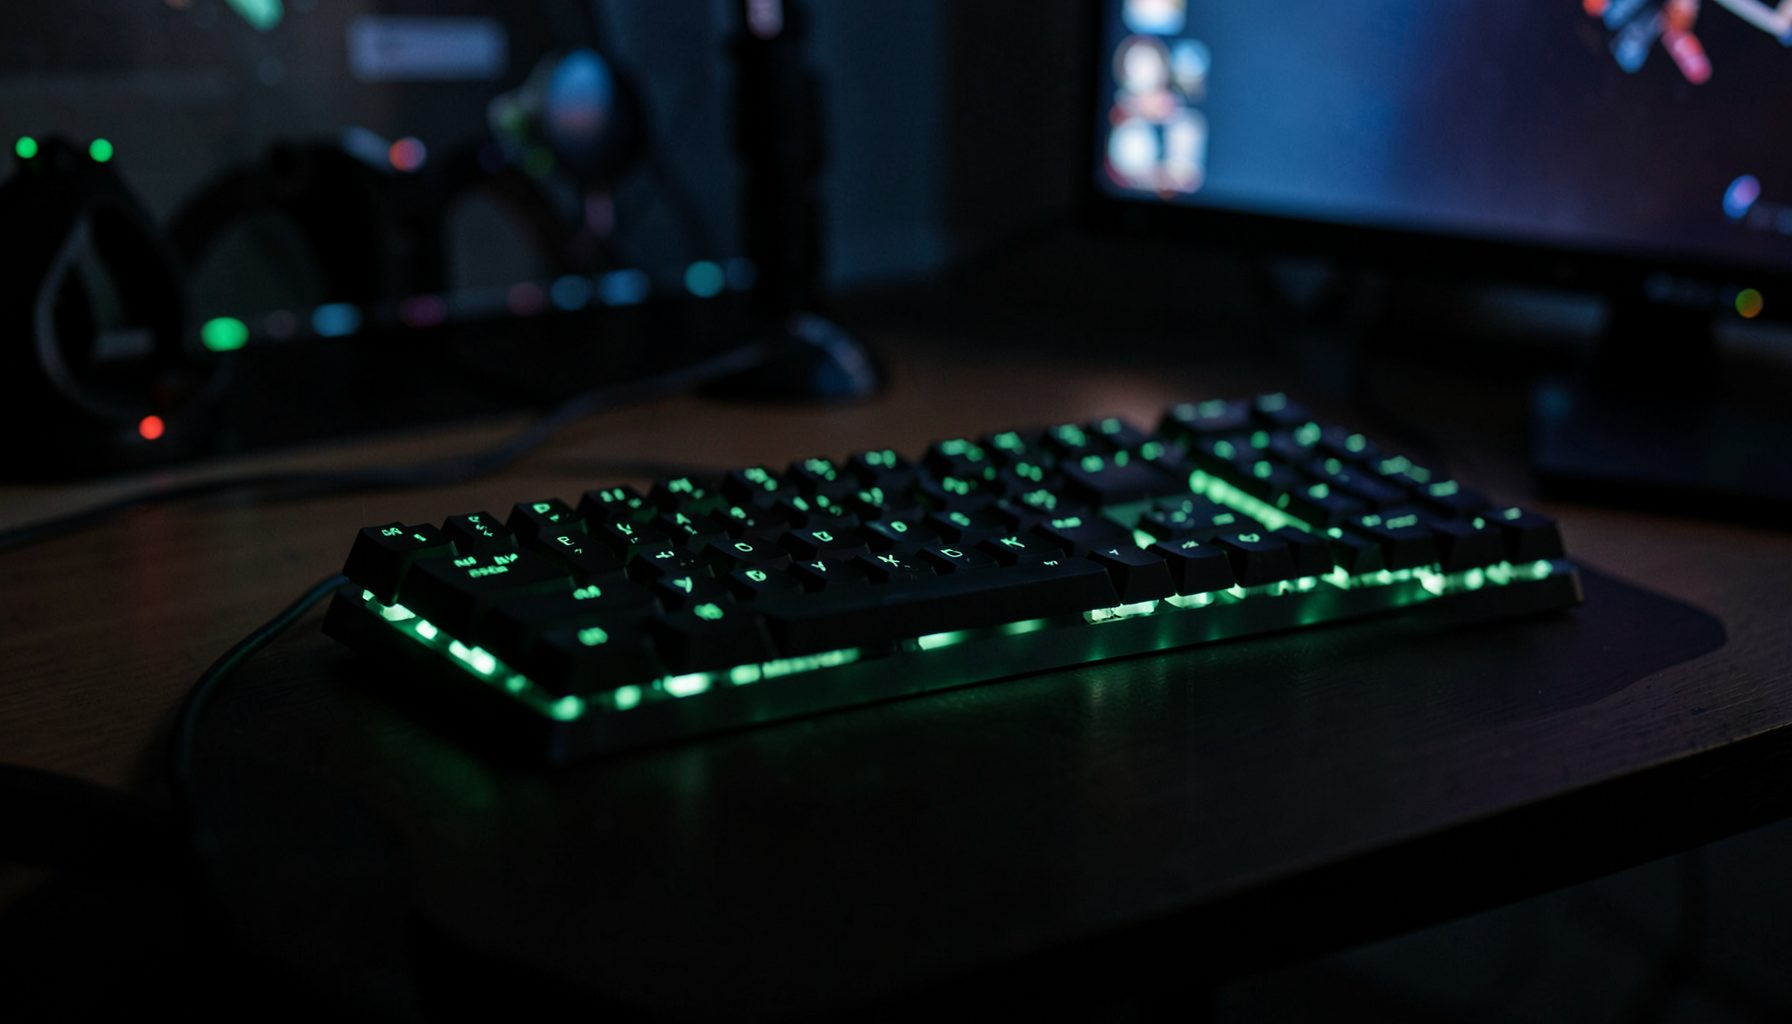
How to Clean Your Gaming Keyboard Without Damaging Switches
A mechanical keyboard is one of the most handled objects on any Aussie gaming desk. Between long arvos grinding ranked matches and the fine dust that drifts in through open windows during a Brisbane summer, even a premium board can start to feel gritty under the fingers within a few weeks. Add a cat that thinks your WASD cluster is a nap surface and you've got the perfect recipe for sluggish switches, sticky modifiers, and that faint but unmistakable keyboard funk that eventually finds every gamer. Learn more about Review Steelseries Aerox 9 Wireless Ultra Light Mesh Design For Mmo Gamers.
This guide walks through a safe, step-by-step routine for cleaning a gaming keyboard without damaging the switches, stabilisers, or the board's PCB. Whether you're rocking a hot-swappable TKL picked up from your local Umart or a custom build you assembled after browsing reviews on Lason Arena Gaming, the same fundamentals apply. We'll cover the tools to gather, the order of operations, and a few habits that keep your board feeling new for years, saving you from the cost of replacement once you factor in shipping and the usual Aussie import headaches on rare or flagship models.
Gathering Your Cleaning Toolkit
Before you start pulling keycaps off, set up a clean workspace. A clear desk, a soft towel laid down flat, and good overhead lighting save you from losing tiny parts down the back of a drawer. Most Australian gamers already have most of what they need around the house, and any extras can be picked up from JB Hi-Fi, Officeworks, or specialist retailers like Scorptec, MSY, or PCCaseGear if you're after something more niche. A quick walk to the servo for a compressed air can is also a common stop for many first-timers.
Tools you'll want on hand
- A keycap puller, with a plastic ring preferred over wire for softer clips
- Soft-bristled brush, such as a clean anti-static paintbrush or makeup brush
- 90 percent or higher isopropyl alcohol in a small dropper bottle
- Compressed air canister, ideally labelled moisture-free
- Cotton swabs and a microfibre cloth for tight corners and final wiping
Avoid household cleaners, window spray, or anything containing bleach or ammonia. These can react with keycap legends, especially on ABS plastic, and leave a permanent haze that no amount of scrubbing will fix. Stick with isopropyl, which evaporates cleanly and is safe on most switch housings and PCBs once fully dry. If you're cleaning a vintage or rare board, test any cleaner on a small inconspicuous area first.
Powering Down and Disconnecting Safely
Unplugging the keyboard sounds obvious, but plenty of people clean around the cables while the board is still live, especially when working under a desk or behind a monitor arm. If your board is wireless, switch it off at the base and remove the battery or USB dongle if it's removable. Give the board at least a minute to fully discharge any residual power in the PCB before you start poking around with brushes or swabs.
Photograph your keyboard before disassembly. A quick phone snap from above gives you a reference for where each keycap lives, which matters more than you'd think on 60 percent, 65 percent, and split layouts that aren't standard ANSI. This step also helps when you're cleaning in stages, since you can flip back to the photo to confirm orientation for keys like the spacebar, the modifiers, and the awkward right-shift found on ISO boards, which remain popular in Australian households thanks to our UK-influenced typing heritage. If your board has per-key RGB, set it to a single solid colour before the photo so the legend layout reads clearly in the shot.
Lifting Off the Keycaps Carefully
Keycap removal is the step where most accidental damage happens. Pulling at an angle, or using metal tools on softer ABS clips, can snap a stem or bend a wire out of shape. Take it slow, work one row at a time, and keep the removed caps in a tray or shallow bowl so they don't roll off the desk and disappear under the bed. If your dog likes to hang around your gaming corner, close the door first; lost spacebars are a rite of passage nobody enjoys, especially on long bar mounts where replacements are pricey.
Pull straight up rather than sideways wherever possible, and work from the top row down so you don't accidentally strike neighbouring caps. Use a wire puller for flat rows and a ring puller for sculpted sets. Place caps face-up in a tray in roughly the same layout for easy reassembly, and skip the puller entirely if your caps are known to be tight, using your thumbs gently instead. If you notice a switch feeling unusually stiff when you remove its keycap, leave it alone for the moment. We'll address stubborn switches later, after the bulk of the cleaning is done and any loose debris is out of the housing. Forcing a stiff cap off risks pulling the switch itself out of the PCB on hot-swap boards, which is a frustrating and avoidable mistake.
Cleaning Around the Switches and Stabilisers
With the keycaps off, you can finally see what your morning coffee, last night's energy drink, and months of snack crumbs have been up to. Start with the brush, working in gentle strokes from the top of the board downward. The goal is to loosen debris so the compressed air can push it out, not to grind it deeper into the housing. Hold the can upright in short bursts rather than tilting it, because propellant can spit out and leave residue on the switches, particularly on optical boards where anything blocking the light path causes chatter.
For sticky switches or stabiliser housings, lightly dampen a cotton swab with isopropyl alcohol and run it around the edges of the switch. A wooden toothpick helps dislodge compacted grime from the cross-stem slot without scratching the housing. Avoid pouring alcohol directly onto the board; a drip into an open hot-swap socket can wick under the switch and pool on the PCB, which is a known killer of RGB underglow over time. The same careful approach applies to optical switches, which are sensitive to anything that blocks the light beam, so keep the lens area clear and dry throughout.
If you're cleaning a wireless or mesh-heavy peripheral like the mouse in our review-steelseries-aerox-9-wireless-ultra-light-mesh-design-for-mmo-gmers, the principles translate closely. Brush first, then targeted alcohol on stubborn spots, then a final pass with compressed air. Many Australian reviewers treat their entire desktop kit as one ecosystem for hygiene, especially during the long humid stretches on the east coast or the dry dust-heavy weeks out near Broken Hill.
Reassembling and Testing the Board
Give the keycaps a quick wash in warm water with a drop of dish soap if they're particularly grimy, then dry them thoroughly before reinstalling. Most ABS and PBT keycaps handle a gentle soak without issue, but avoid boiling water, harsh abrasives, or the dishwasher, which warps the plastic and ruins legends. While the caps dry, let the board itself sit for ten to fifteen minutes so any remaining alcohol evaporates completely. Aiming a desk fan at it speeds things up on a warm Adelaide evening.
Reinstall the caps in the same order you removed them, matching the photograph from earlier. Press each cap straight down until you feel the stem seat, and don't force anything that feels misaligned. Once the board is back together, plug it in or reconnect via wireless, and run through a typing test. Free tools like the online keyboard tester or a simple notepad session will reveal any caps that aren't registering, which usually means the stem didn't fully seat. Pop the offending cap off and try again with slightly more even pressure, and you're ready to load back into your favourite lobby.
Keeping Your Board Clean Between Deep Cleans
A full clean every few months keeps things hygienic, but small habits between cleans make the deep sessions quicker and less frequent. Australian homes see plenty of fine dust drift in from the suburbs, the coast, or the dry inland air depending on where you live, so a weekly brush-down under the keycaps goes a long way. Drink covers, snack positioning, and a quick wipe of your hands before sitting down all help extend the interval between cleans.
Maintenance habits worth building
- Brush under the caps weekly with a dry anti-static brush
- Keep drinks on a coaster or spill-proof mat, away from the board
- Wash or wipe your hands before long sessions
- Store the keyboard under a dust cover or cloth when travelling or unused for a week
- Wipe the surface with a slightly damp microfibre cloth every fortnight
Consider rotating between two sets of keycaps if you're keen, which lets you wash one set while the other is in service. That's a level of effort most casual users won't bother with, but if you've spent good money on a custom set, it's worth the ten minutes each month. For gamers chasing competitive edge, a clean and consistent feel under the fingers is just as important as your mousepad surface and your chair height, both of which are covered elsewhere on Lason Arena Gaming. Following these habits will keep the deep cleans shorter and far less daunting the next time around.
Now's the perfect time to give your gear the once-over. Grab your toolkit, set aside twenty minutes on a Sunday arvo, and your keyboard will feel close to factory-fresh by the time you load into your next match. Subscribe to Lason Arena Gaming for hands-on maintenance guides, unboxings, and reviews tailored to the Australian gaming scene.